- MonsterAIKit
Quick Start
After downloading the MonsterAiKit Asset from the marketplace and add it to your project you will find the folder “MonsterAiKit” like this:

In this folder you will find the main blueprint actor “Monster_NBC” drag and place it in your map:

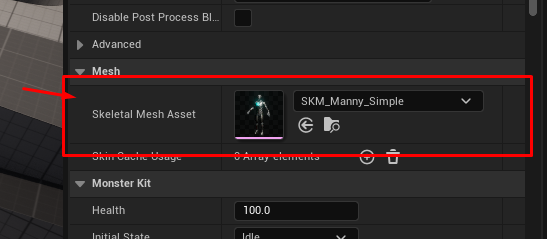
Click on the actor you placed and go to It’s ‘Details’ window on the right, here where you can edit your monster parameter.
Start edit it and choose your monster mesh from “SkeletalMesh”:
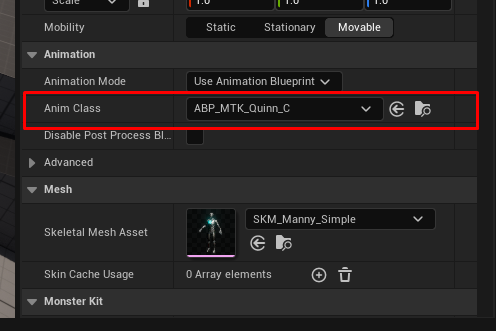
Choose the Animation Blueprint, If you nto have your own you can use "MTKAnimationBPTest" but make sure first that your character is re-targeted to it:
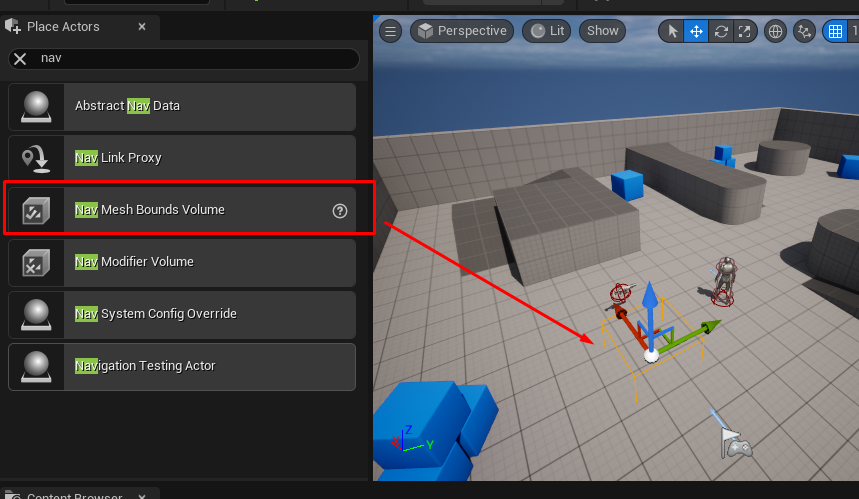
Now add a “Nav Mesh Bounds Volume” from “Place Actors” window:
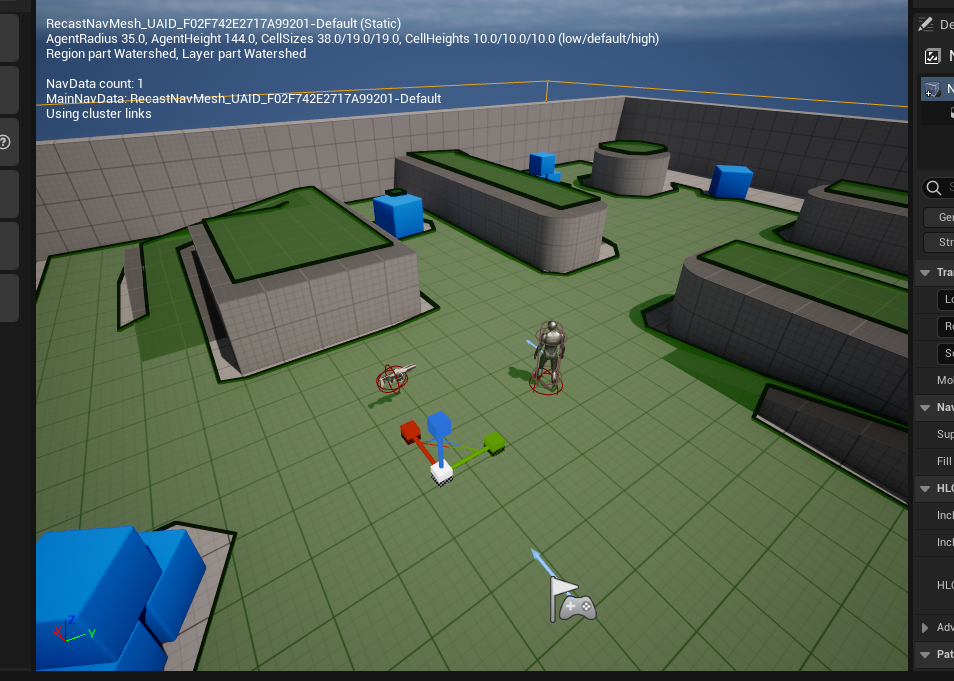
Scale the NavMesh to include all areas the monster can visit, all the rendered green areas shows where the monster can move (Note: you can show/Hide the green points by toggling “P” Key)
Now press play and you will see the monster interacting with your player character.
In the next section you will learn how to tweak the monster parameters to make your custom monsters.